
Every woman wants to have endless hours to get ready and feel refreshed; sadly that’s just not reality. Most of us have maybe 20 minutes to dedicate to extra things like hair or makeup before running out the door. I feel that’s it’s important to still take the time for a little something, no matter how rushed we are, because most women feel more empowered when they’re put together; at least I do.
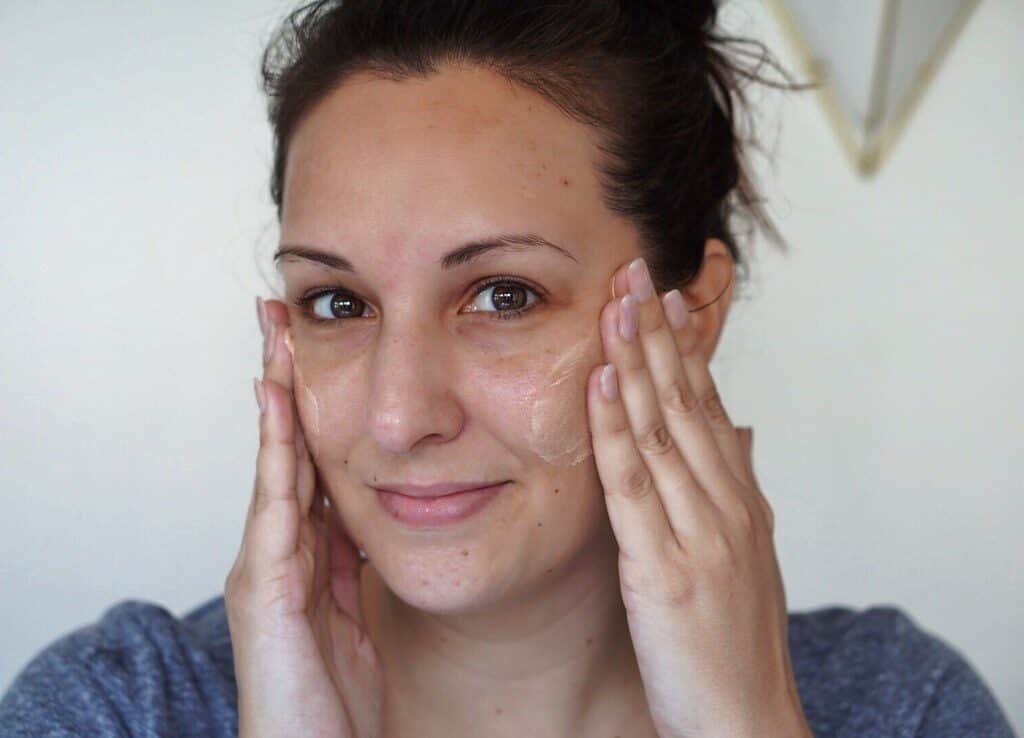
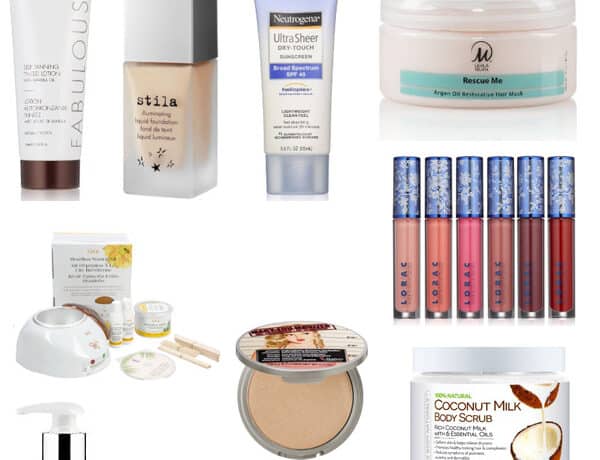
Through trial and error, I’ve come up with a list of key products that help me to create a simple, yet pulled-together look for those days when I have to be out the door quickly and don’t want to look like death warmed up. I will say that the key to this is starting with a good foundation and by foundation I mean SKIN CARE. Ladies …. no amount of makeup will cover up the fact that you don’t take care of your skin; cleansing, moisturizing, protecting, and exfoliating are all things that should be worked into your routine.
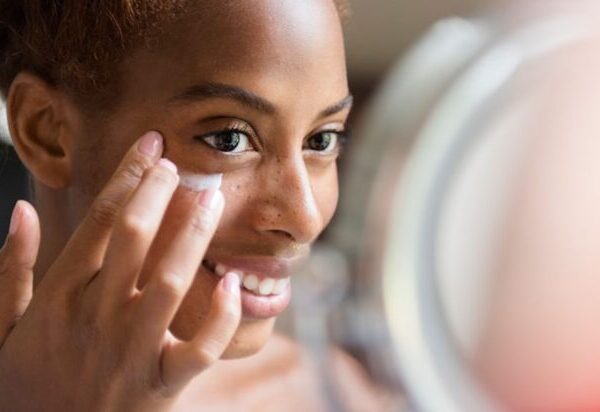
*Tip: I make sure and give my skincare products time to soak in by breaking them up with other activities like brushing my teeth, getting dressed or doing my hair putting my hair in a top knot. That way my skin is ready for makeup when I start applying products.*
I have the full tutorial written out in this blog post but I also filled a YouTube tutorial for it as well because some people learn better audio/visually where others like to read all the steps and take their time. Let me know in the comments about any other videos you would like to see. If you want to see the video, skip down to the bottom to view.
Step 1: prep
Step 2: BROWS

Step 3: Conceal
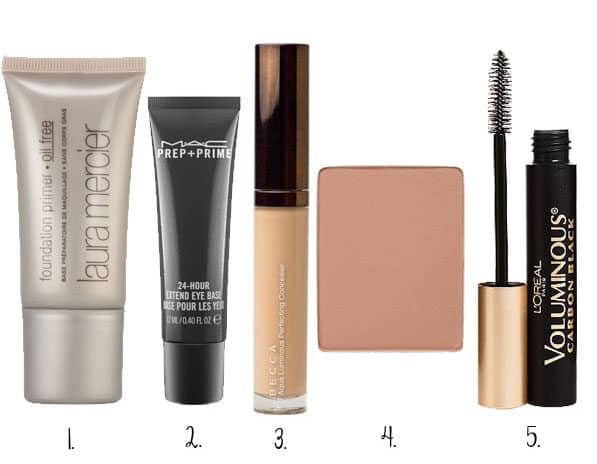
Time to cover up those dark circles that will give away how tired you are! Right now, I am trying out Becca’s Aqua Luminous Concealer, $30 because it’s lightweight and keeps in line with the glowy and natural look of this routine. Other products I am a fan of are MAC’s Prep+Prime Highlighter, $27 in Bright Forecast and Nars Soft Matte Complete Concealer, $30 in Honey.
*Tip: Peach-toned products are best for covering up darkness because they counteract the blue/purple tones! Even though the peach doesn’t match the rest of your face, it will disappear into your skin because of this.*

Step 4: Bronze
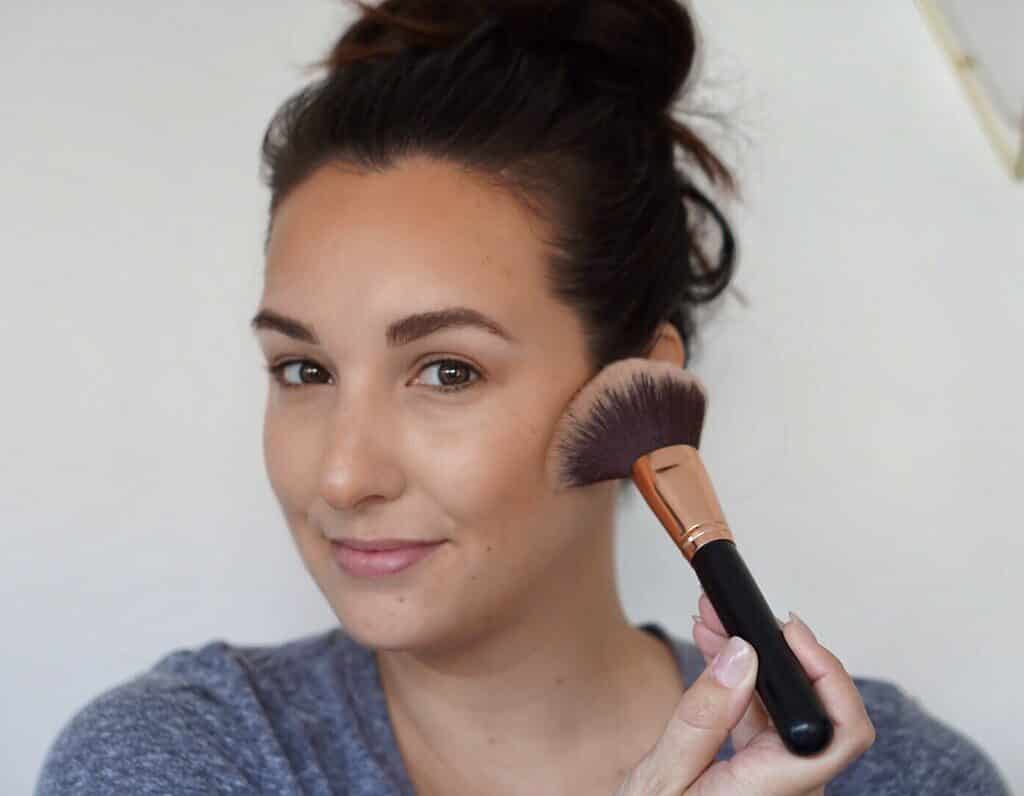
Now it’s time to add some life into your face with bronzer. I use Kat Von D’s Shadowplay powder, $16 with a big fluffy brush around the edges of my face. I usually focus in the hollows of my cheeks, middle top of my forehead and jaw line to give color and some shape to my face. If I have some extra time, I also use it to define the crease of my eye or contour my nose (with appropriate brushes).
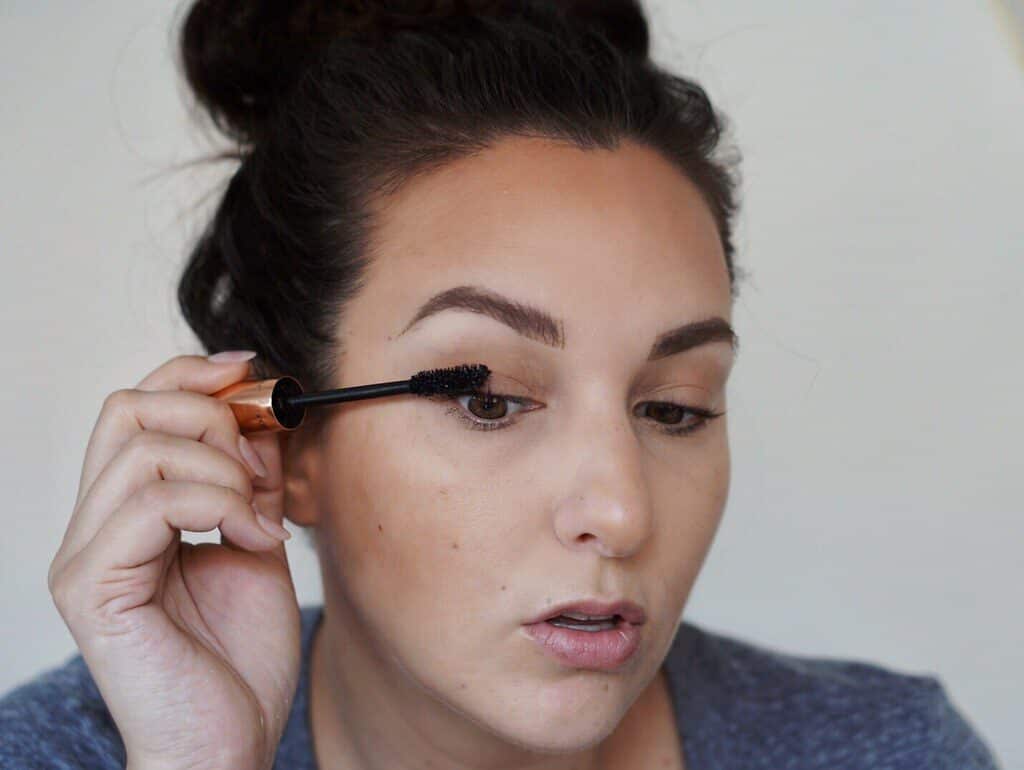
Step 5: mascara
The last step to this routine is optional. If I have time or I want to look more ‘done’, I will curl my lashes and apply mascara. This helps to open up your face and make you seem more awake but like I said it’s totally optional. L’Oreal Voluminous Mascara, $6 in Carbon Black is my favorite that I always go back to. It’s the blackest black, the formula isn’t too wet or dry so I don’t have to worry about it smudging or creating clumpy lashes and it comes with a pretty good brush. Best of all, its affordable and available at the drugstore.

Now I know it seems like a lot and how could this possibly be quick? But, trust me, it is and you will look great. The best thing about makeup is, the more you do it, the better you get and the faster you become. Here’s the finished look … can you believe the difference? You can still see some pigmentation in my skin because I only applied concealer to cover darkness around my eyes but the radiance primer helps diffuse it so beautifully! Give it a try and let me know how it goes!


No Comments